
FIELD GUIDE / 09
Design and publish cases & accessories with AI
Use the official STL with Codex and Blender, then let AI submit your printable design for review.
Before you start: connect Blender
Install Blender and follow the project documentation to connect Blender MCP to Codex. Keep Blender open and confirm Codex can read the scene before designing.
Blender MCP setup documentation ↗Verify the environment and copy the creation prompt
Complete the setup above and verify Codex can read the scene through Blender MCP before copying the complete creation prompt below.
Workflow demo
Workflow demonstration · desktop stand example · no physical print footage
Describe your idea. Design it with AI.
A replacement shell, protective case, stand, or another idea. Copy the prompt, use your configured Blender MCP connection in Codex, and describe what you want.
Design prompt · expand to copy
First read the current scene through Blender MCP. If disconnected, help me complete environment setup before continuing. Download the official AI Passport reference:
https://ai-passport.folotoy.cn/assets/models/ai-passport-reference/2026-09-14/AI-PASSPORT.stl.zip
Dimensions and notes: https://ai-passport.folotoy.cn/assets/models/ai-passport-reference/2026-09-14/manifest.json
Extract the ZIP and import the STL, interpreting coordinates as millimeters (STL does not encode units); check its overall bounds are approximately 61 × 96 × 8.32 mm. Build and iterate on my idea. Ask for missing internal geometry or mounting dimensions; do not guess.
Use AI Passport only for dimensional reference and fit checks. Export only my designed parts, excluding the reference from print files, source, previews and cover.
Design for 3D printing: closed solids, suitable walls and clearance, minimal overhangs/supports, split into assemblable parts when needed. Export each part as millimeter STL/basic 3MF. Save an editable source containing only my parts, a portrait 3:4 rendered cover and printing/assembly notes. State honestly when no print or fit test was performed. I will paste the official upload prompt when ready to submit for review.Keep Blender and its connection running. The prompt includes the STL download; extract it and import using millimeters.
Describe and refine your idea
For example: a desktop stand with rounded edges. You can also design a replacement shell, protective sleeve or another accessory. Inspect the model and ask AI to refine it.
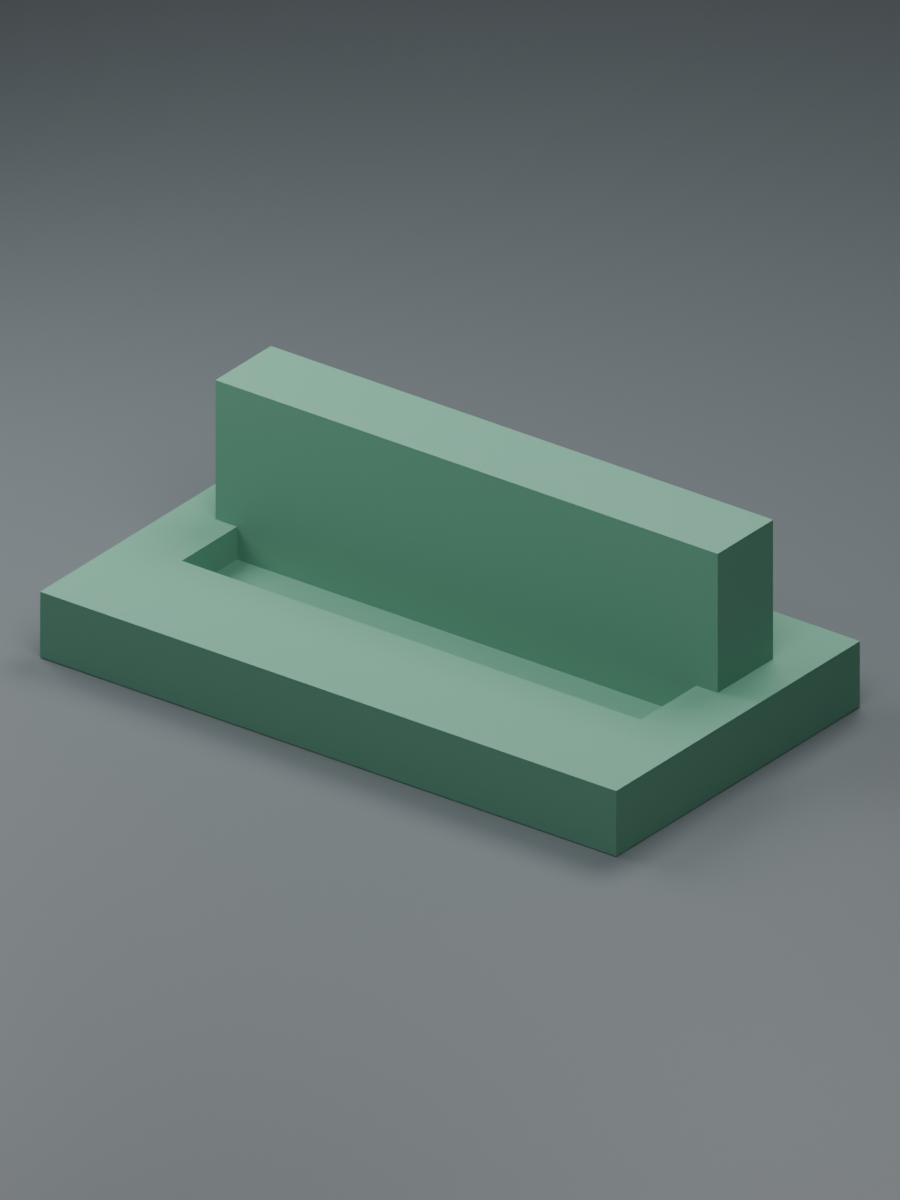
Reference bounds are about 61 × 96 × 8.32 mm. Complete internal geometry is not verified. Obtain real mounting, screw and clip dimensions when needed.
Copy the upload prompt and submit
Sign in to Creator center → Cases & accessories. Select Publish design → Authorize & copy prompt. Paste and send it in the same AI chat. AI will prepare the materials and upload them.
Copying alone does not submit. Wait for AI to return a model ID and pending-review status, then check the creator center. After approval, the community can preview and download it. Use Update design here for new revisions.