GETTING STARTED / 05
Create an app with an AI agent
Start with a clear idea, let an AI coding agent develop and build it, then install the app on a real AI Passport.
Start with a problem worth solving
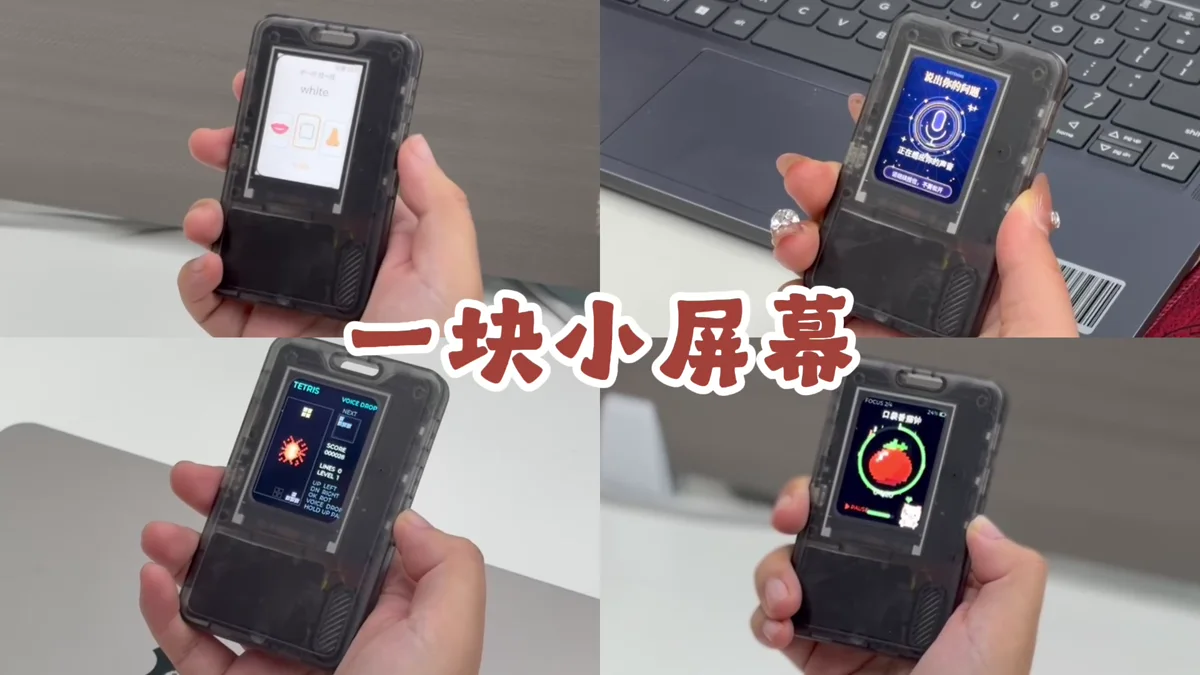
The small display, physical buttons, and wearable form can support learning tools, mini games, timers, identity displays, and more. Pick a real context and describe in one sentence what the user should accomplish after picking up the device.
- Context: when and by whom will it be used?
- Goal: what action means the experience succeeded?
- Scope: keep only one core experience in the first version.
Install a community app and confirm the connection
Connect AI Passport with a USB data cable, choose a published release from the App Library, and install it once. This confirms that the cable, browser serial permission, and device connection work before custom development begins.
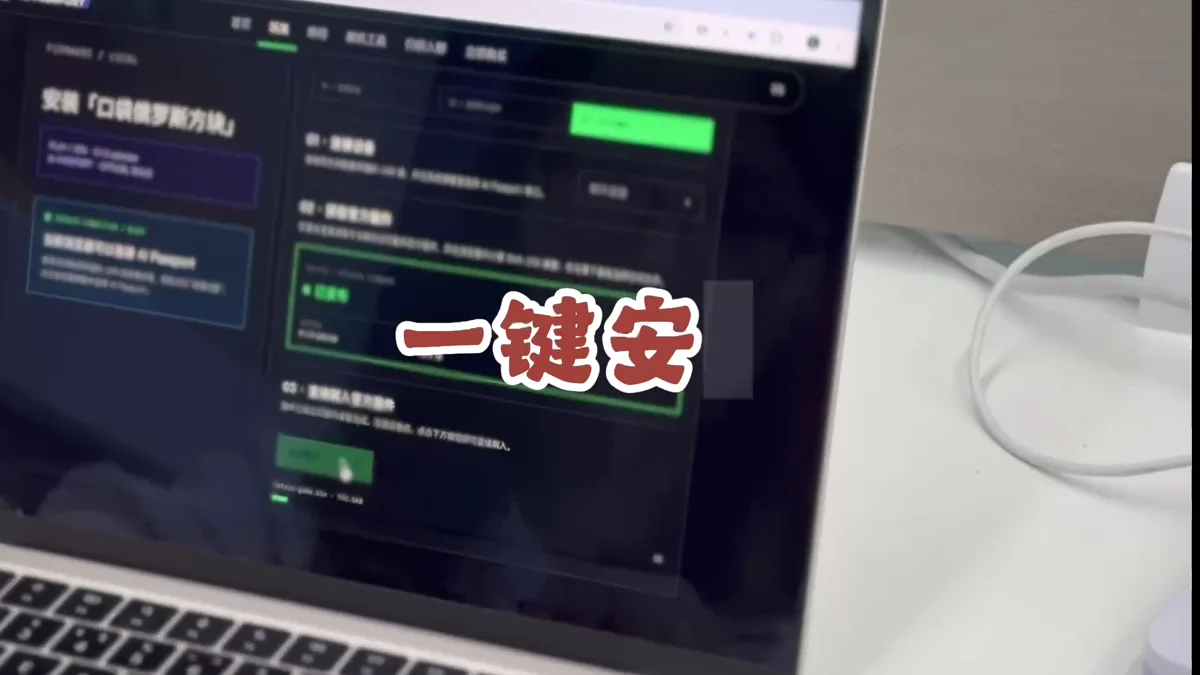
Test the connection first so you can rule out cable or browser issues when you start building.
Define the smallest version of your app
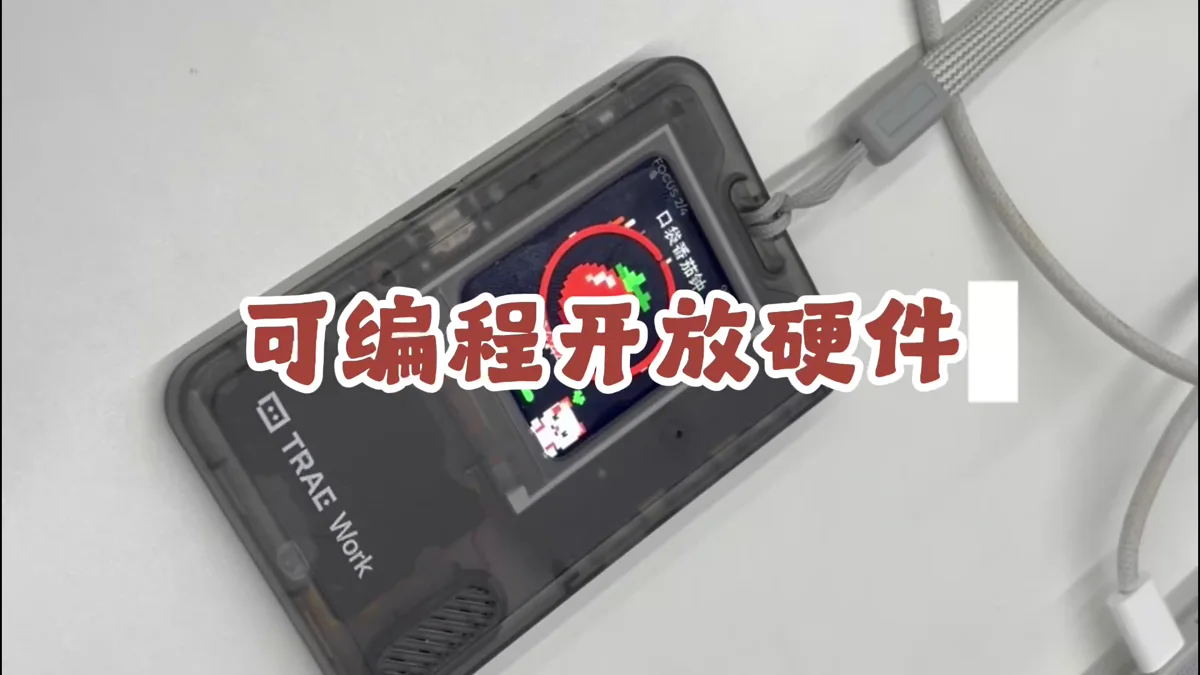
Reduce the idea to a first version that can be tested on real hardware. Specify what appears on the display, what each of the three buttons does, and whether the experience needs sound, Bluetooth, networking, or local storage.
- Interface: list the main screens, text, and states
- Input: define short- and long-press behavior for Up, Down, and Confirm
- Feedback: describe success, failure, loading, and exit behavior
- Constraints: include display size, offline needs, asset limits, and target hardware
Choose an AI coding agent
Use TRAE, Codex, Claude Code, or another AI coding agent that can read a project, edit code, and run build commands. Open the app project directory and have the agent inspect its instructions, examples, and build workflow before making changes.
Build  using the complete project at https://gitee.com/FoloToy/ai-passport; reuse a local checkout if available.
Read AGENTS.md and docs/README.md first, then consult relevant documentation, hardware interfaces, and examples as needed. Prepare the environment and install the Skills required by the project.
Preserve existing changes and develop on a new branch. Reuse the BSP and design a fresh application UI instead of copying the demo; check font coverage for Chinese text. Ask when key requirements are unclear and handle the rest autonomously.
Run project validation and deliver merged firmware flashable from 0x0. Report test results and anything unverified. When finished, proactively ask whether to test on hardware; do not flash without confirmation.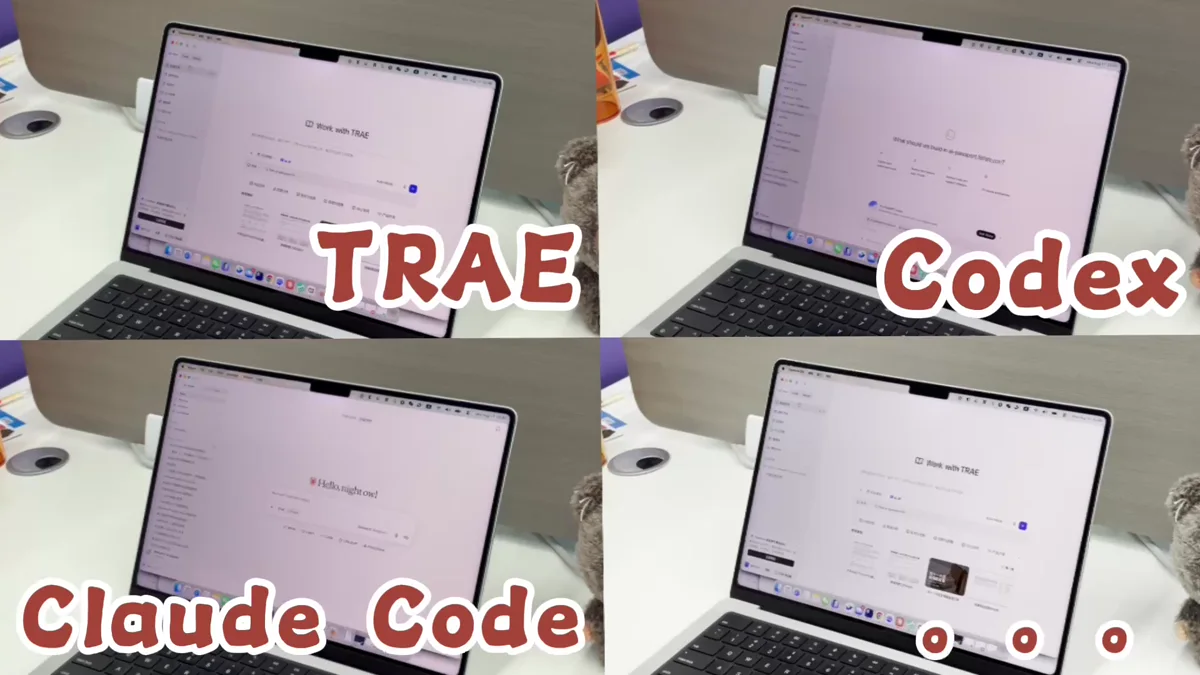
Do not work from an isolated code snippet. Giving the agent the complete project lets it reuse the correct dependencies, hardware configuration, and build process.
Describe the requirements clearly
Give the agent the context, interface, button behavior, and constraints you prepared, then ask it to restate the design and implementation plan. Specific input makes the first build much closer to a usable experience.
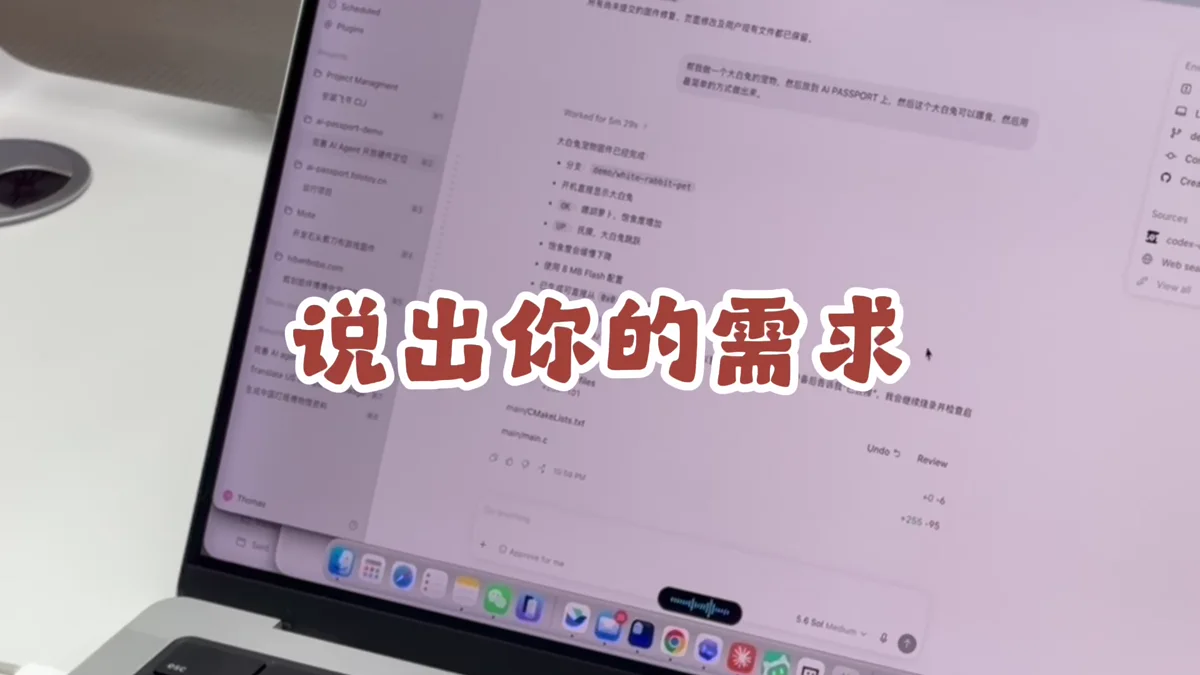
- What I am making and who it is for
- The first screen and the complete interaction flow
- How each button behaves in each state
- Existing code, assets, or interfaces that must be reused
- Your goal: a successful build and a firmware file you can install
Let the agent develop, build, and check its work
Have the agent implement the plan, run the project's build commands, and continue fixing errors. At the end, ask for a summary of changes, test results, the app file path, and any remaining limitations.
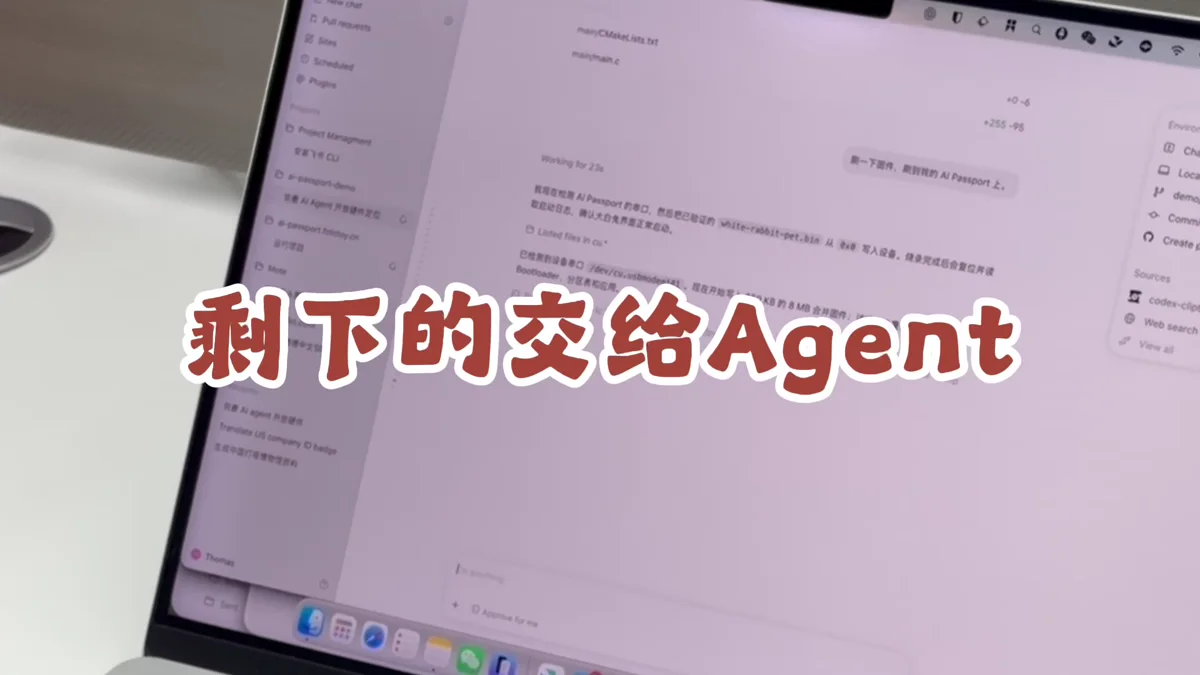
Make sure the code builds successfully and produces a firmware file you can install.
Install the app and test real hardware
Open the web flasher, select the app built by the agent, and connect AI Passport. Check the file and device before installation. Restart when it finishes, then test the display, buttons, sound, and connectivity one by one.
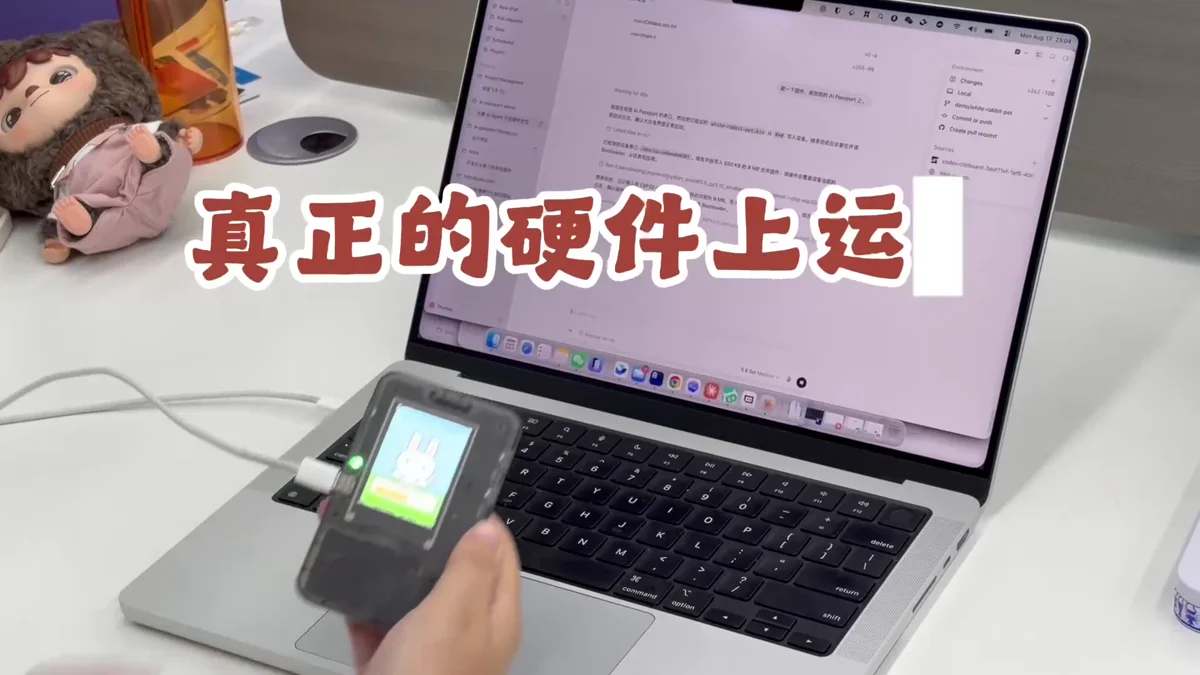
- Do not unplug the cable or close the page during installation
- Use a development device first and learn how to restore the default firmware
- Record unexpected screens, button behavior, and logs, then give them back to the agent
Use it in context, then iterate
Try the app away from the computer. Check whether text is readable, one-handed controls feel natural, feedback is timely, and battery and connectivity fit the context. Prioritize the issues that most affect use, then ask the agent for another focused build.
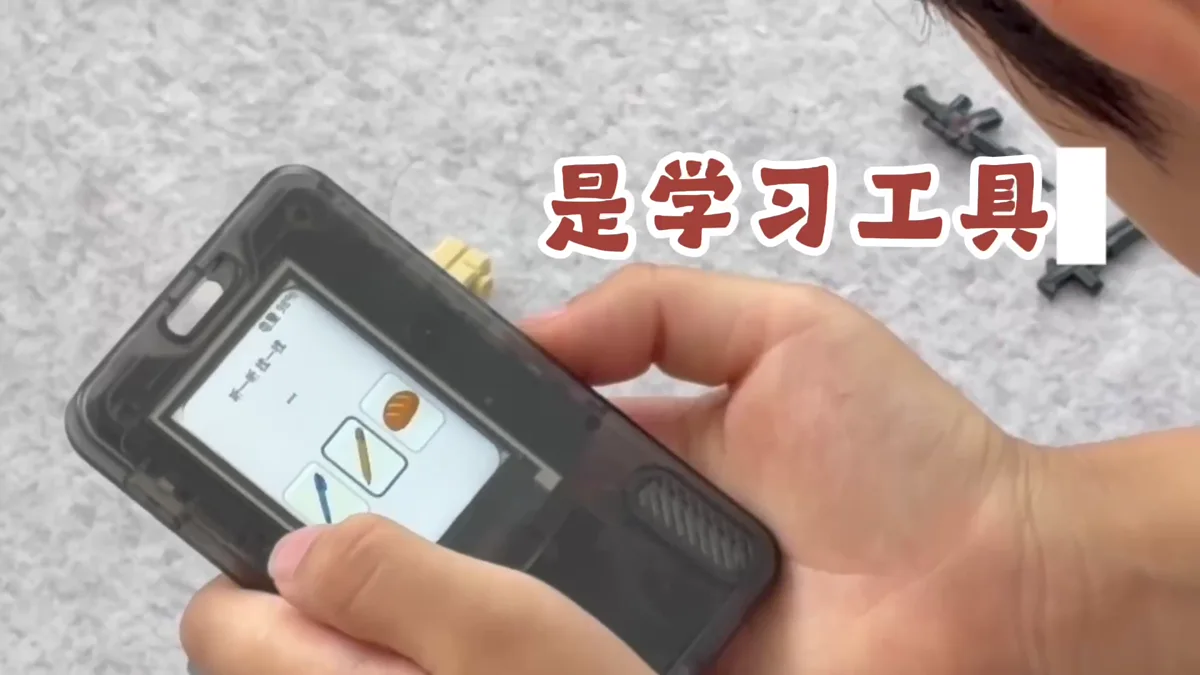
- Fix problems that block the core flow first
- Change only a small set of testable details per iteration
- Keep a version number, source commit, and firmware backup for every usable build